DIY Diva: Fascinating Fascinators

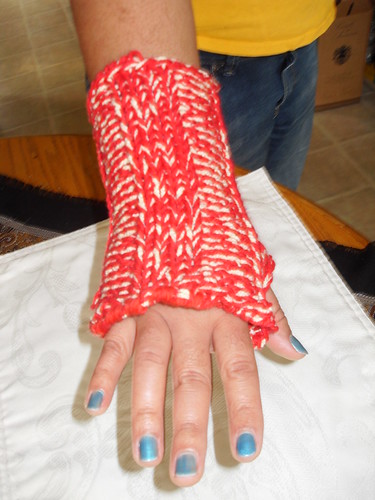
Image via KnitPurlandStitch
Heyo – the DIY Diva here! Happy 2010 fifteen days late, yo. Sorry for the delay in a column in this new year!! I was down for the count with first the stomach flu, then there were issues w/my computer… it’s been a little janky over here in my corner of the world. I hope all you faithful broke-asses will forgive me.
That being said: My holidays were great, how were yours?
I spent a lot of time knitting and reading. I finished a scarf for my Mom and a baby-blanket for my nephew. I just finished reading Eccentric Glamour by Simon Doonan and it has inspired this week’s craft idea.
Just a note: The picture attached to this column is not the craft you’ll be making this week. In addition to my computer going sideways, my camera is broken – I am borrowing a friend’s camera to take a pic of the finished product of the craft I’m about to tell you how to make – but, he wasn’t able to get over here with said camera in time for the pic to run w/the column. I’ll pop in and edit it as soon as I’m able. In the meantime: enjoy this cute pic of a feathery fascinator from our friends at KnitPurlandStitch.
SO! After reading Eccentric Glamour, I decided that I needed to amp up my own personal style, and since I had just had bangs cut, I would start wearing fascinators on my headbands. However: fascinators are kind of expensive if you choose to actually purchase them. And, I’m not keen on feathers (I have a bird phobia). So I decided that I needed to figure out a way to make fascinating fascinators of my very own.
Remember when I said that my Mom bought me a kid’s knitting book for Christmas? Yeah, well that sucker has become super useful in the past few weeks. There are some crazily cute knitting patterns in there. And, they are dumbed down so a knitting retard like me can follow them. In said book I found a really cute pattern for a knit posey that I decided would look super-cute on a braided ribbon headband. The cool thing about this fascinator is that you are going to put it on a safety pin, so you have fashion choices… You can wear it on the braided headband or on a plain cloth headband or you can wear the braided headband w/out the fascinator if you so choose.
Because being a wacky chick is all about having choices, yes?
Fascinating Fascinator Headband
What you need:
-One large safety pin
-Seven yards of worsted weight acrylic yarn
-8 Gauge knitting needles
-A yarn needle
-A fabric needle and black thread
-Scissors
-Five yards of 1″ gross grain ribbon
How to make the Posey:
-Cast on 81 stitches to your left knitting needle.
-Bind off one stitch and then use a piece of scrap yarn to place a marker between stitch one and two.
-Bind off 16 stitches and place another marker – continue to bind off 16 stitches at a time and place markers until there are only fifteen stitches left.
-Bind off 15 stitches, leave an arm’s length of yarn for sewing and cut the working yarn.
-Thread a yarn needle with the excess yarn and fold the knit strip you just made like a fan so that all the marked stitches are together.
-Insert the needle into the first marked stitch and weave the needle and yarn through each marked stitch and through the last bound off stitch.
-Pull the yarn up tightly.
-Remove the markers.
-Knot the ends together and cut the yarn to close off the project.
-Using your fabric thread and needle, sew the closed end of your safety pin to the back of the posey using a whip stitch.
How to make the headband:
-Fold your gross grain ribbon into thirds and cut it so you have three individual strips. I know this looks EXCEPTIONALLY long. You need the extra ribbon b/c when you braid the ribbon will get shorter than when it is laying flat.
-From one end, measure 2.5″ and tie a tight knot.
-Using a three strand braiding pattern, braid the ribbon together until you have a headband long enough to go around the top of your head (mine is 23″).
-Tie a tight knot, leaving 2.5″ on the working end, like on the beginning of the project.
-On each end, cut left and right loose ribbon so that it is .5″ long, leaving the middle ribbon to use as a tie behind your head.
Then you can tie on your headband and place your posey wherever you think it looks most attractive (I like mine just above my ear on the right side…)
Check back on this column to see the finished product I made when my lame-ass friend gets here with his camera, yo! Happy crafting!
Posey pattern via Cool Stuff: Teach Me to Knit

You Might Also Like