DIY Shadow Boxes

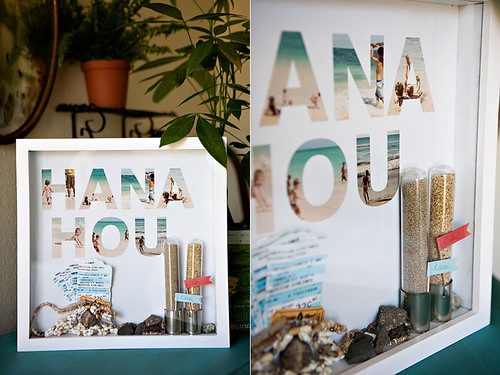
Image couresty to-be-charmed.com
Last week I promised y’all shadow boxes, inspired by the shadow box/diorama art of Glass Cathedrals, and as I’m a woman of my word, we’re talkin’ shadow boxes. They’re rad, they’re easy and all you really need is the box itself. And well, stuff to put in it. If you’ve got any wood working skills (and I know you do heh heh) then you can throw together the box pretty quickly. Just grab some wood scraps, measure the lengths and cut where necessary, and use a hammer and nail the pieces together into a frame. Paint or embellish as needed. You’ll need something for the back – foam board or cardboard – and you can add something clear to protect the front like glass or plastic, but it’s not a requirement.

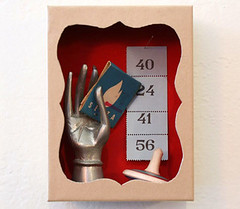
Gift box shadow box image courtesy DesignSponge.com
Otherwise, you can either re-purpose something (like picture frame, a shoe box, or a drawer you street scored). Gift boxes and jewelry boxes with lids work too, you’ll just need to draw a design on the lid for a viewing hole, then cut. There’s even a method that re-purposes a fold-out jewelry box. If you’re absolutely forced to break down and buy one, it’s not gonna set you back more than about $15 (or shouldn’t). All you need to do next is decide what you’re gonna put in it, grab glue, pins (and hooks to screw into the top if you’ll be hanging jewelry), arrange and finish. You can even layer additional frames within your shadowbox.

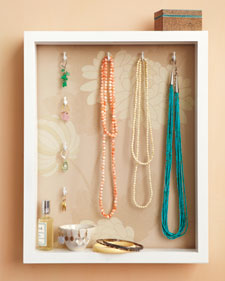
Image courtesy marthastewart.com
They work really well as jewelry or art displays, obviously, but can also be part of a shelf, display plants, or a nice DIY gift for special occasions (birthdays, anniversaries, etc) or to commemorate vacation memories. Myself, I’ve got two in mind – one for jewelry and one to display ticket stubs from every show I’ve been to since I moved to San Francisco.


