DIY: Serving Tray
One of the many things on my running must-do DIY list is a serving tray to carry tea, crochet projects, stationary, nail polish, jewelry or swanky mixed cocktails (you know, ‘cause I’m fucking classy like that). Maybe I’m just hoping someone will make me breakfast in bed, but there’s something dapper about a serving tray.
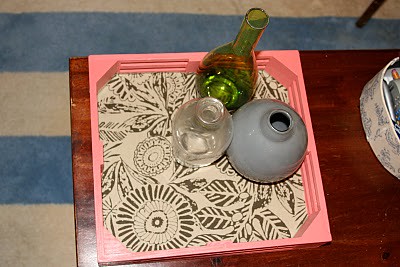
Image courtesy aliciabdesigns.blogspot.com
Obviously, to start you’re gonna have to score an actual tray – or at least a flat surface like a cabinet door or even a baking tray (you could also probably make do with a sturdy, sizeable picture frame with glass). The good news is that unfinished wooden trays – if you can find ‘em at a craft store- are bloody ridiculously cheap (think about $3.99). Baking trays, picture frames and cabinet doors can be scored at thrift stores or salvage yards.
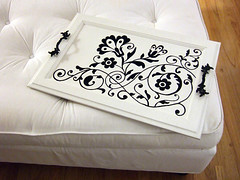
image courtesy of craftynest.com
If you’ve got an unfinished tray (or an older, beat up tray) you can simply go the paint and paper route; consider adding something uncommon to the bottom like burlap or cork coaster. Mod fans might want to try the bold dot design – just sand, spray with primer and paint white. Then use a glass or CD to draw the circles and paint ‘em in. It might take a coat or two, and you’ll need to cover the whole shebango with some high gloss sealer, but it ain’t harder than that.
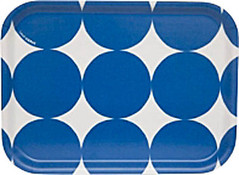
image courtesy of curbly.com
For cabinet doors you’ll need some sandpaper, paint, and handles (& screws). Just sand down the door, paint away and then screw in the handles. You can get fancy and fill in any leftover holes with wood filler or put some felt pads on the bottom corners.
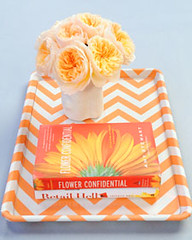
image courtesy of The Martha Stewart Show
The baking tray technique requires the baking tray (duh) and about a yard of fabric. Cover the tray with spray adhesive then smooth the fabric over the tray, tucking in at the corners and gradually wrapping it entirely. Cut and hold with fabric glue where needed, and cut an acrylic sheet to fit.
If you’re feeling uber-swanky (and have cash to burn on this project) then consider using silver leaf – honestly, it’s a time intensive and very precise project, but the results speak for themselves. Master crafters can also consider mosaic, or you could go with everyone’s current fave and put a bird on it.


