DIY: Stamps

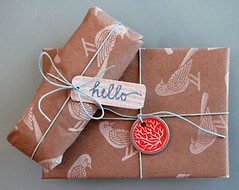
Image courtesy of blogdeanine.blogspot.com
Stamps are an awesome item to have for DIY projects – you can use them to decorate your own wrapping paper, envelopes, notecards, ribbons, journals, mixed cd’s, t-shirts… cups…walls. Pretty much anything, really. And this sucks, because stamps themselves? Sorta on the pricey side. Last year, when I shelled out $12 for a Christmas themed-stamp to make wrapping paper, I felt like a damn sucker. Never again.

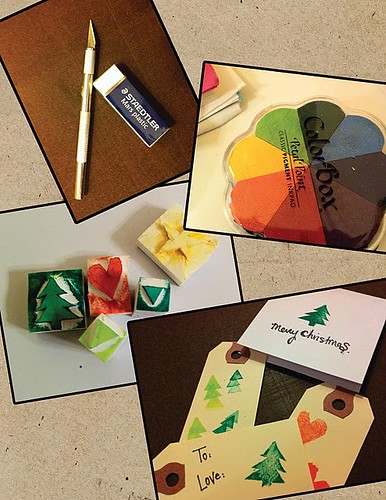
image courtesy of halfsweetvanilla.blogspot.com
Stamps are a perfect pairing of DIY because not only are they so often used in crafty endeavors, but also because stamps are pretty easy to just damn well make yourself. A craft that makes a craft? How meta.
There are some initial supplies to deal with – primarily a linoleum cutter (Speedball) as well as an X-Acto knife, pencil and tracing paper and an eraser to make the actual stamp. You can buy craft erasers (Saedtler, MasterCarve, E-Z Cut, Soft-Kut) – they’re generally pretty cheap – or you can find a substitute. I’ve seen people use soft potatoes, sponges, felt, rubber erasers, foam sheet, buttons, upcycled kids toys or bits of foamy-type plastic; point being, you don’t have to buy craft erasers.

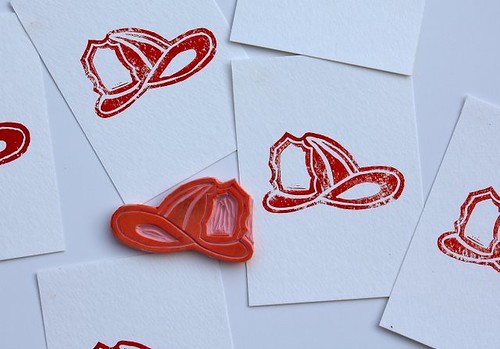
image courtesy of growinghomeonline.blogspot.com
Now, keep in mind that simple shapes are going to be the easiest to start with – walk before you run, yeah? Pick a design keeping the positive and negative space in mind, then trace the design onto the tracing paper. Press the penciled image onto the eraser or stamp, carefully but firmly enough to transfer the image. Now, grab the linoleum cutter to carve out your design and use the exacto to cut the design out of your block or base. Attach your neat new stamp to a base or post (or a roller, fancypants) and get busy.


