DIY Lampshade
Lighting is an often overlooked item in the house '“ which is a pity because you can easily upgrade any fugly lampshade with a fierce base. Even hanging lights can be covered or altered to look better with your favorite rug (you know, it really ties the room together). Plus, scoring ridiculous lamps is a better rush than mullet hunting. Here are three ways to see the light:
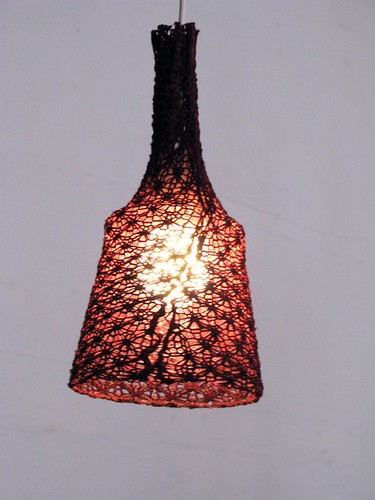
image courtesy of treehugger.com
'¢ Tshirt sleeve '“ just cut off a sleeve of your roommates fav Metallica tshirt, starch it up and stretch it over a mold. While this method has the advantage of working with lights that are installed from the ceiling, it also takes a damn minute to dry. And by “damn minute” I mean like up to four days.
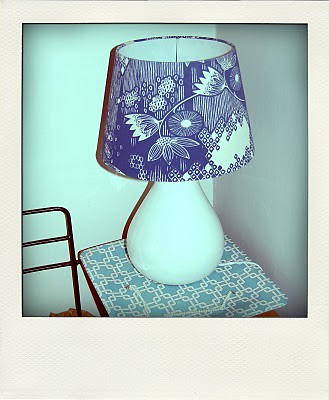
'¢ Fabric/paper cover '“ roll the lampshade along a swatch of fabric (or wallpaper or decorative oilcloth or whatever your poison may be) to measure it out, then cut and adhere with spray adhesive or a glue gun (hold in place with clothespins). Roll up extra fabric to form a band, or add one of a different shade.
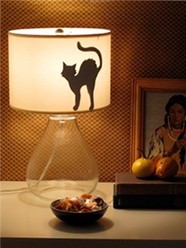
'¢ Cut-Out '“ grab some black paper and a print out of your chosen image, trace the image out on the paper, cut, and then adhere with double stick tape. This works better for seasonal or temporary upgrades, because you’re basically just taping paper to a lampshade, don’t be surprised if your fabulous cut out design doesn’t last like the Energizer bunny.
Images via: downandoutchic.blogspot.com, diylife.com
You can also simply tape a stencil to the lampshade and paint a pattern along the bottom – or go crazy and pattern up the whole thing. Stripe it with ribbon or colored electrical tape. Use old jewelry to hang bling along the bottom. There’s a good (yet involved) tutorial for gold leaf here. And you overachiever types with tons of time on your hands can check out how to construct a Square Bell Shade.


